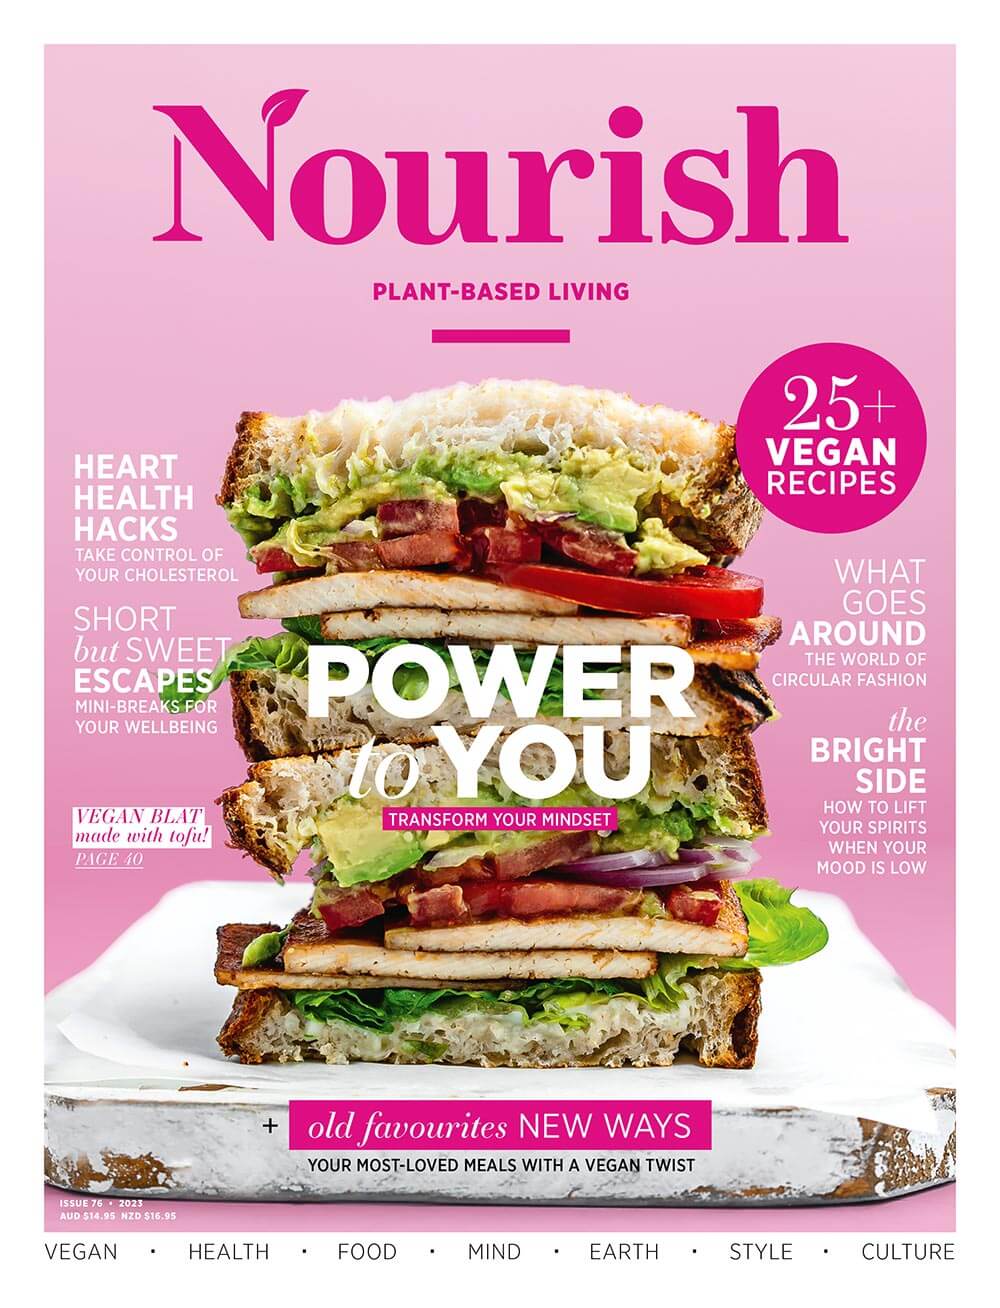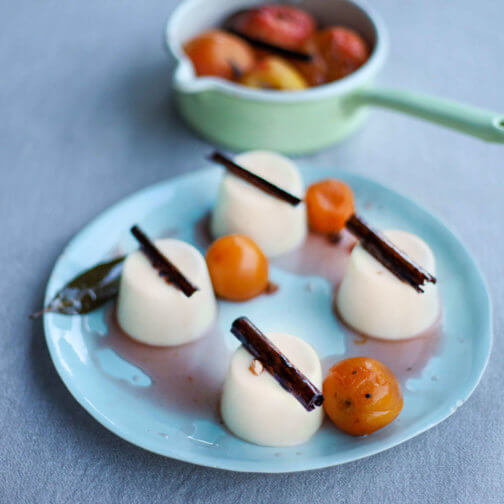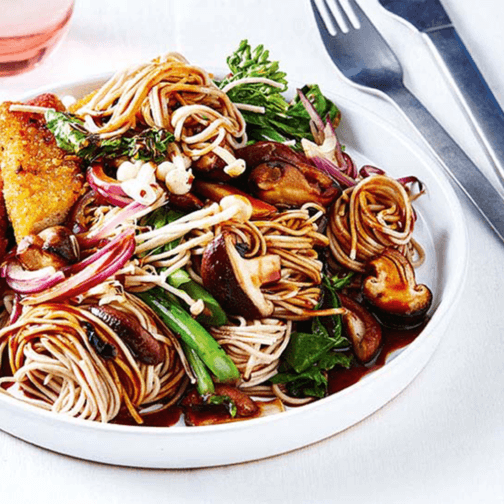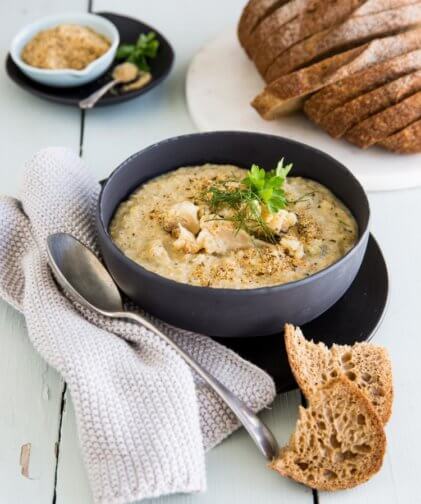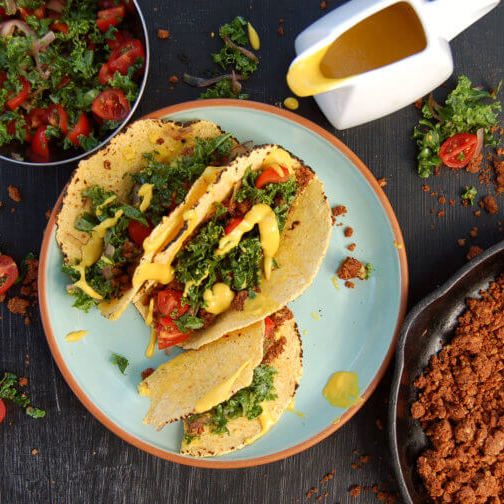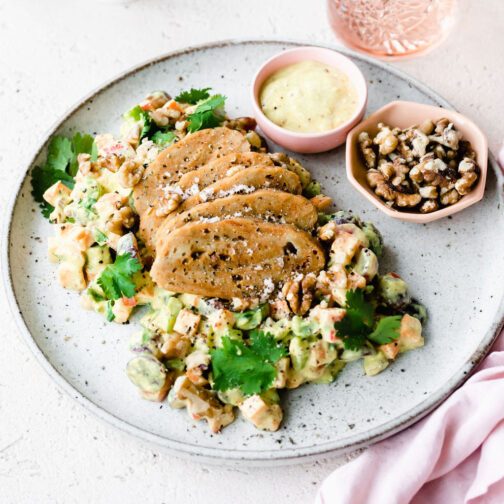
Great food photos can have us drooling over dishes we’ve never even tasted. Here’s how to take your food photography to the next level.
Food photography has become increasingly popular over the past few years, and it’s little wonder: we eat with our eyes first. However, capturing truly mouthwatering food photos – like any photography style – means leveraging your skills and creativity. In this post, we explore some food photography tips, like how to style great food photos, finding appropriate food photography lighting, and camera gear and equipment recommendations to help you take your food photography setup to the next level.
Five food photography tips
1. Leverage different textures
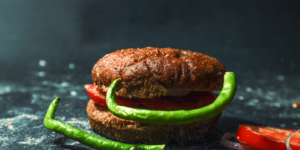
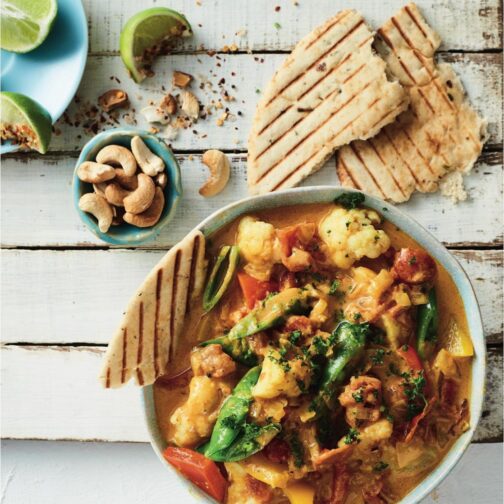
Textures can add depth and interest to your food photos. You can play with textures in the food itself, the props you use, and even the background. For example, you might choose to shoot a smooth, creamy dessert on a rough wooden table, or you might use a linen napkin to add some softness to a shot of a crispy fried dish.
2. Play with colours
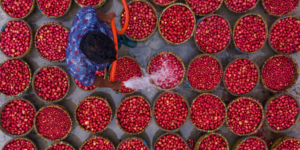
Colour is another element that can make your food photos pop. You can play with the colours in the food itself, as well as the colours in your props and backgrounds. For example, you might shoot a vibrant green smoothie against a white background or use a blue plate to make a red sauce stand out.
Remember to calibrate your white balance setting, as white may not appear “white” in all lighting conditions. Changing your white balance establishes the true colour of white, providing a baseline from which all other colours are measured.
3. Light it right
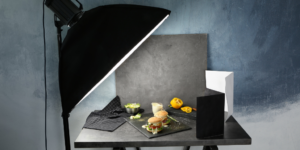
Lighting is crucial in food photography. Harsh shadows can be unappealing, so avoid direct sunlight or artificial light from the side. Instead, position your food, so the light comes from the front or slightly to the side.
Natural light is preferable, but if you only have access to artificial light, e.g. inside a restaurant or cafe, consider investing in a softbox or additional studio lights and photography lighting for a professional touch to your photos.
4. Respect the principles of photography
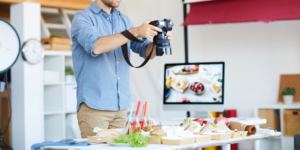
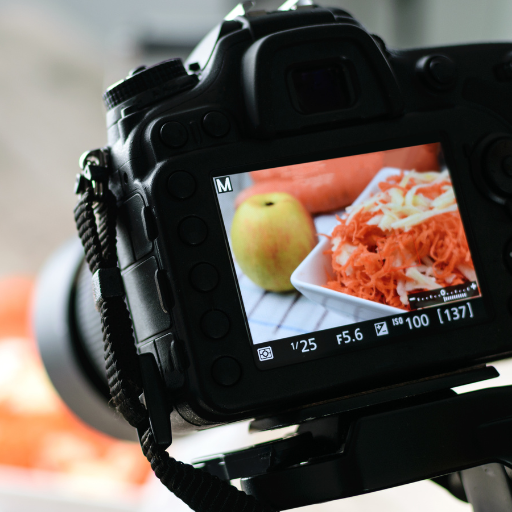
Remembering the principles of photography to get the most out of your food photography is important. The exposure triangle is at the top of the list: balancing shutter speed, ISO and aperture to expose your photos properly. Then there’s the all-important rule of thirds to help frame the composition of your images.
With these guidelines, you can get creative and experiment with different angles. For example, you might shoot a burger from below to accentuate its size or a salad from a up above to highlight the ingredients.
5. Edit from RAW

Editing your photos can help you take your food photography to the next level. You can play with saturation, texture, colour grading, and more to achieve your desired look. However, be careful not to over-edit your photos, which can make them look unnatural.
To ensure you have the most flexibility during editing, capture your images in a RAW format. These lossless RAW files capture uncompressed data from your camera sensor, enabling you to bring out the image’s full potential. Of course, that means much larger image files, so be sure to stock up on extra memory cards to avoid running out of space.
Choosing the best camera for food photography
Now that we’ve covered some tips on how to take mouthwatering food photos let’s talk about some camera gear that can help you achieve great results. It’s no secret that camera options are wide and varied. There’s plenty to choose from your traditional DSLR to newer mirrorless camera models and portable compact cameras.
The experts at Ted’s Cameras recommend the following cameras for food photography:
Canon EOS R6 II: a mirrorless miracle maker
Key Features:
- Full Frame 24.2MP Sensor: capture more detail than smaller cameras.
- Built-In 5-Axis Image Stabilisation: shoot handheld, without motion blur.
- Extended ISO range of 100-102,400: excellent low-light quality.
- Tilting Screen: quick and easy camera operation and framing.
The Canon EOS R6 II is a full-frame mirrorless camera with a 24.2MP sensor for capturing the intricate details of your next meal. Boasting built-in image stabilisation, you can shoot handheld without motion blur, with easy framing and quick access to controls via the tilting screen. Plus, with an extended ISO range of 100-102,400, this camera is excellent for low-light photography.
The EOS R6 Mark II performs remarkably in a compact chassis weighing only 670 grams! The camera has a rugged weather-sealed design, so if you plan to take your camera into the kitchen, you’ll be protected from anything that comes your way.
Of course, you’ll need to pair your Canon mirrorless camera with a suitable lens, so what’s the top recommendation? Well, to ensure you can capture both wide and telephoto images, you can’t look past the reasonably priced Canon RF 24-105mm F4-7.1 STM Zoom lens.
Sony ZV-1: a compact culinary companion
Key Features:
- Compact design: portable, lightweight and pocketable.
- Tilting LCD screen: Ideal for food vlogging.
- Versatile 24-70mm f1.8-2.8 lens: easy shooting in varied lighting conditions.
- Dedicated product showcase mode: makes it easy for beginners to shoot close-up subjects.
The Sony ZV-1 is a portable and lightweight camera that’s great for food photography on the go. It has a tilting LCD screen, making it easy to frame your shots and great for filming food vlogs. The camera has a dedicated product showcase mode, which makes it easy for beginners to shoot close-up subjects.
The Sony Z-V1 is compatible with the functional VPT2BT grip, which helps you hold your camera steady for smooth and stable vlogging results. When you use the grip, the camera’s C1 function is automatically enabled, a custom function that automatically sets the camera up to produce stunning out-of-focus background areas.
And with its 24-70mm f1.8-2.8 lens, you can capture everything from wide-angle shots of an entire buffet to the delicious bokeh in those low depth-of-field images.
Eyes bigger than your stomach?
Capturing truly mouthwatering food photos – like any photography style – means leveraging your skills and creativity. By playing with different textures and colours, picking appropriate lighting, respecting the principles of photography, and editing your photos in post-production, you can take your food photography to the next level. And with the right camera gear, such as the mirrorless Canon EOS R6 II or the compact Sony ZV-1, you’ll achieve great results for your food photos!
