
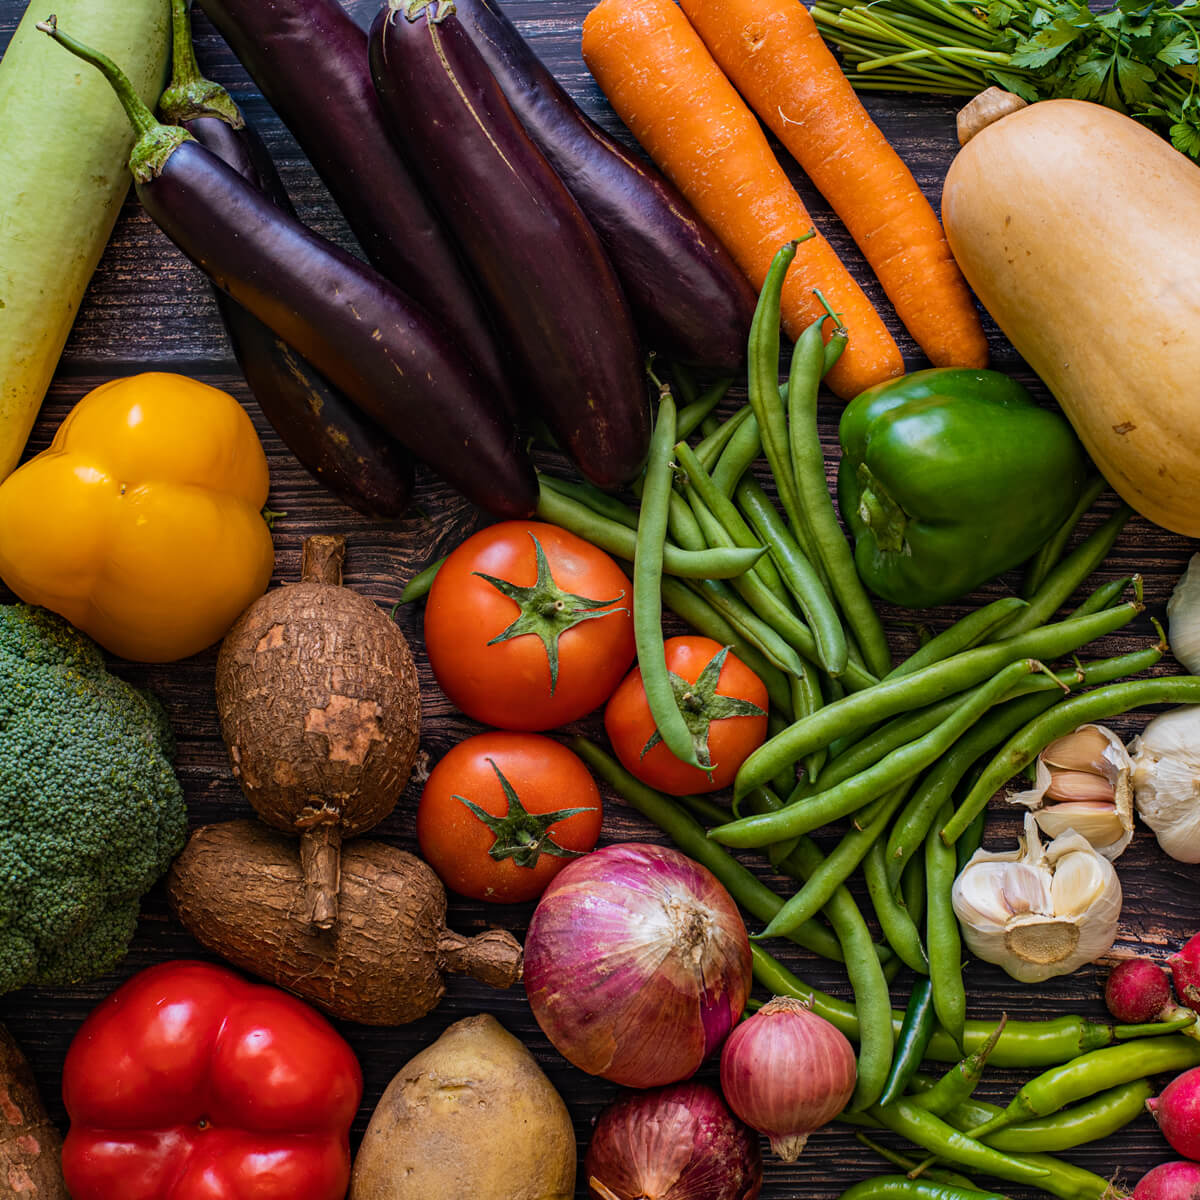
We spend good money on buying fresh produce, so why not use food scraps more economically?
The only limit to using food scraps is your creativity, so have some fun, and reap the rewards of these ecologically- and economically-friendly home and garden hacks!
Begin composting
Mature compost is gold in the garden, and a valuable resource for the earth. There are many ways to compost including backyard compost bins, worm farms, and indoor or balcony systems.
Here are the basics to backyard composting:
- Begin by buying a compost bin (there are always some going second hand).
- Place your bin in a convenient location in the back garden and then bury it at least 15cm into the ground.
- Place some sticks down the bottom of the bin, for oxygen flow.
- Next, add a layer of ‘brown material’ (leaves, mulch, or even shredded paper, newspaper and cardboard).
- Now you can collect your food scraps (‘green material’) over a span of a week, in an air-tight container (which can be left under the kitchen sink).
- After this, take the food scraps out to the compost bin, tip them in, and layer another layer of brown material. The golden rule is for every lot of green material, add a double amount of brown material.
- Every week give the bin a stir, to allow the oxygen in to help the matter break down. Once the bin is full, it will take 3–6 months to be fully broken down and ready to use in the garden.
Grow some vegetables (in your kitchen)
Did you know that there are plenty of vegetable end-scraps that re-grow if you place them in a glass of water? Some of these include the ends of celery, spring onions, lettuce, bok or pak choy. You can also grow the tops of carrot and beetroots if you place these in saucer of water. How’s that?! A mini grocery store on your kitchen bench!
Some creative ways to give your food scraps a second life
1. Slow-cooked vegetable broth
Gather your food scraps peelings (for example: the ends of zucchini, broccoli, celery, carrot, sweet potato, etc) and place into a slow cooker. Fill with water until about an inch below the lid. Leave on low heat for eight hours, or on high heat for five hours. Strain the broth and compost the remaining scraps.
For some extra taste, you can add some bay leaves or herbs, and a teaspoon or two of salt. An approximate estimate for measurements would be for every 500g of scraps, there will be around four cups of broth.
Storing the broth is easy: allow it to cool, and then find some clean jars. Now all you need to do is strain the liquid and pour it in the jars. If you have enough, it can be frozen for later use, but make sure you leave about half an inch below the top so that the glass doesn’t crack. That has to be the cheapest and easiest gut-healing broth you’ll ever make!
2. Citrus peel cleaning spray
Collect your citrus rinds (from lemons and oranges, for example) and store in a glass container until full. If the jar takes longer than a day to fill, place in the fridge. Or, if it takes longer than 5 days to fill, store in the freezer.
Once the jar is filled, pour white vinegar over the rinds until they are completely submerged. You can also add any fresh herbs for an aromatic touch, such as rosemary, thyme or mint. Allow the mixture to soak for at least 1 week, and no longer than 3 weeks. Pro-tip: shaking the jar every few days assists the infusion process.
Once it has finished infusing, strain the rinds from the liquid into a spray bottle. Try to avoid any chucks or particles from being poured into the spray bottle, as it will get clogged.
Another option is to add a few drops of your favourite cleaning essential oil, if you didn’t use fresh herbs during the infusion process. Now you have a non-toxic and beautiful smelling cleaning spray for your home!
3. Liquid fertiliser for your garden
Use banana peels! Bananas are high in potassium, which is an essential nutrient for plants (of course, some need it more than others so check your plant requirements first). To make: soak your banana peels in a full bucket of water (rainwater is best) for around 48 hours. After this infusion time, pour the liquid into a watering can and water your plants. Ta-da!


