Anthea Cheng

Nourish magazine issue 76
Buy Now
Colourful and nutritious, this hearty Moroccan-style salad combines spiced roast veggies, chickpeas, massaged kale and plump sultanas with an...
Salad is one of our favourite meals when they’re made the way vegans make them – big and bountiful!
Indulge yourself and your loved ones with these easy-to-make, seasonal sweet treats.
What’s better than a homemade treat? One that someone else has made especially for you! Delight your loved ones with these festive beauties...
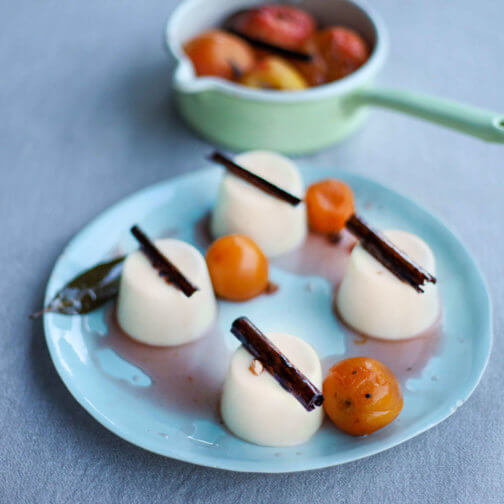
The Persian flavours of bay, orange blossom, and cardamom make the perfect poaching syrup for the sweet stone fruit in this exquisite dessert,...
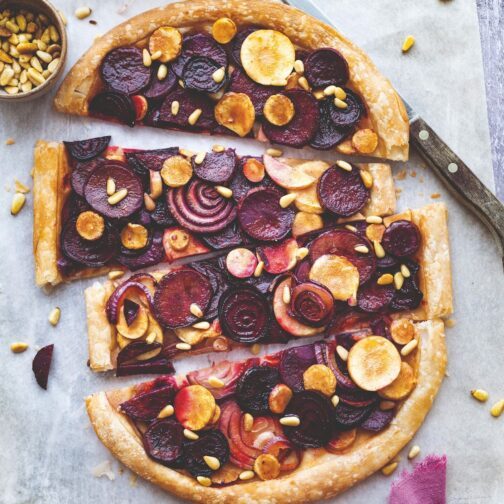
Even in the dark of winter there are a myriad of colours and textures offering inspiration. This recipe uses maple and miso to bring out the...
Light, citrusy, and super refreshing, this cocktail starring Licor 43 Horchata and limoncello tastes like Mediterranean summer in a glass.
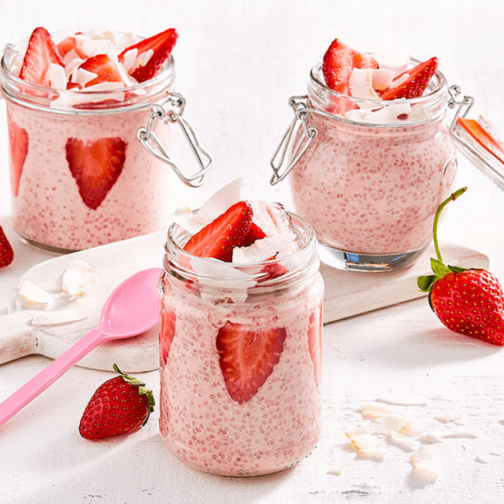
These overnight chia pudding pots are quick to prepare, packed with nutrition, and delicious – a fantastic way to start your day.
Show loved ones you care with a thoughtful edible gift for your holiday gathering
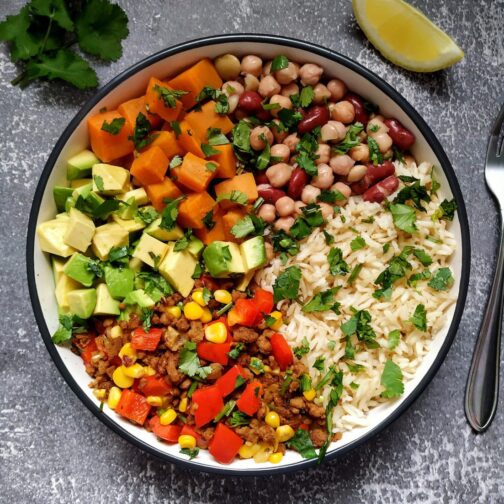
Power up with this tasty, protein packed burrito bowl created by Caitlin Adler for the Vegan Easy 7-day Strength meal plan.
If you want to get your gut in order, Dr Will Bulsiewicz is the expert to help you sort out fact from fiction. This is the gut-health cheat sheet...
In the fast-paced and demanding world we live in, finding moments of stillness and calm can be challenging. In an attempt to find a little peace...
Does life feel like an uphill battle? Maybe it’s time for change
Spraying sheets and pillows with calming scents can be a wonderful aid to slumber
The next time you go for a walk, discover the wonder of the everyday world around you
A skincare routine can be a way to nourish yourself inside and out
When the clouds converge, practise gratitude for the smallest of glimmers, and learn to dance in the rain.
Colourful and nutritious, this hearty Moroccan-style salad combines spiced roast veggies, chickpeas, massaged kale and plump sultanas with an aromatic dressing. A crowd pleaser for all occasions!
If you want to get your gut in order, Dr Will Bulsiewicz is the expert to help you sort out fact from fiction. This is the gut-health cheat sheet...
In the fast-paced and demanding world we live in, finding moments of stillness and calm can be challenging. In an attempt to find a little peace...
Does life feel like an uphill battle? Maybe it’s time for change
Spraying sheets and pillows with calming scents can be a wonderful aid to slumber
The next time you go for a walk, discover the wonder of the everyday world around you
A skincare routine can be a way to nourish yourself inside and out
When the clouds converge, practise gratitude for the smallest of glimmers, and learn to dance in the rain.
Salad is one of our favourite meals when they’re made the way vegans make them – big and bountiful!
If you want to get your gut in order, Dr Will Bulsiewicz is the expert to help you sort out fact from fiction. This is the gut-health cheat sheet...
In the fast-paced and demanding world we live in, finding moments of stillness and calm can be challenging. In an attempt to find a little peace...
Does life feel like an uphill battle? Maybe it’s time for change
Spraying sheets and pillows with calming scents can be a wonderful aid to slumber
The next time you go for a walk, discover the wonder of the everyday world around you
A skincare routine can be a way to nourish yourself inside and out
When the clouds converge, practise gratitude for the smallest of glimmers, and learn to dance in the rain.
Indulge yourself and your loved ones with these easy-to-make, seasonal sweet treats.
If you want to get your gut in order, Dr Will Bulsiewicz is the expert to help you sort out fact from fiction. This is the gut-health cheat sheet...
In the fast-paced and demanding world we live in, finding moments of stillness and calm can be challenging. In an attempt to find a little peace...
Does life feel like an uphill battle? Maybe it’s time for change
Spraying sheets and pillows with calming scents can be a wonderful aid to slumber
The next time you go for a walk, discover the wonder of the everyday world around you
A skincare routine can be a way to nourish yourself inside and out
When the clouds converge, practise gratitude for the smallest of glimmers, and learn to dance in the rain.
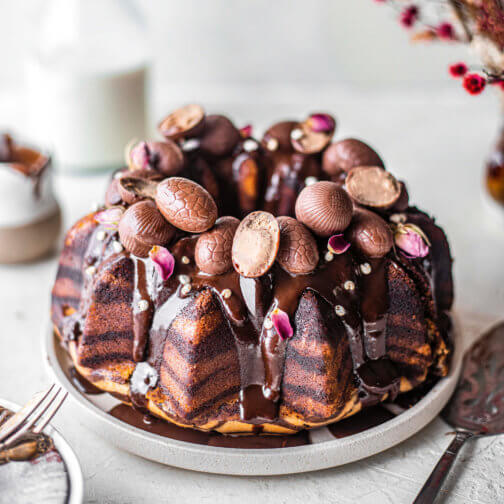
Sweeten up the Easter break with this scrumptious cake.
TIP: We used Loving Earth Boobook Eggs, but any vegan-friendly variety will be fine. Specialty stores like the Vegan Grocery Store will be your best bet.
If you want to get your gut in order, Dr Will Bulsiewicz is the expert to help you sort out fact from fiction. This is the gut-health cheat sheet...
In the fast-paced and demanding world we live in, finding moments of stillness and calm can be challenging. In an attempt to find a little peace...
Does life feel like an uphill battle? Maybe it’s time for change
Spraying sheets and pillows with calming scents can be a wonderful aid to slumber
The next time you go for a walk, discover the wonder of the everyday world around you
A skincare routine can be a way to nourish yourself inside and out
When the clouds converge, practise gratitude for the smallest of glimmers, and learn to dance in the rain.
What’s better than a homemade treat? One that someone else has made especially for you! Delight your loved ones with these festive beauties this year.
If you want to get your gut in order, Dr Will Bulsiewicz is the expert to help you sort out fact from fiction. This is the gut-health cheat sheet...
In the fast-paced and demanding world we live in, finding moments of stillness and calm can be challenging. In an attempt to find a little peace...
Does life feel like an uphill battle? Maybe it’s time for change
Spraying sheets and pillows with calming scents can be a wonderful aid to slumber
The next time you go for a walk, discover the wonder of the everyday world around you
A skincare routine can be a way to nourish yourself inside and out
When the clouds converge, practise gratitude for the smallest of glimmers, and learn to dance in the rain.
Subscription Options
to receive regular Nourish updates and offers directly in your inbox.
Interested in partnerships, submissions or providing more detailed feedback? Please visit our contact us page.
