Sara Kidd

Nourish magazine issue 76
Buy Now
Dainty sandwich fingers with the satisfying umami of vegan bacon and lashings of cream cheese make the perfect savoury inclusion in a classic...
Rich and sophisticated, these espresso-enhanced chocolate sponges with delectable chocolate cream topping are guaranteed to dazzle your guests,...
Put a smile on your dial with these sweet indulgences!
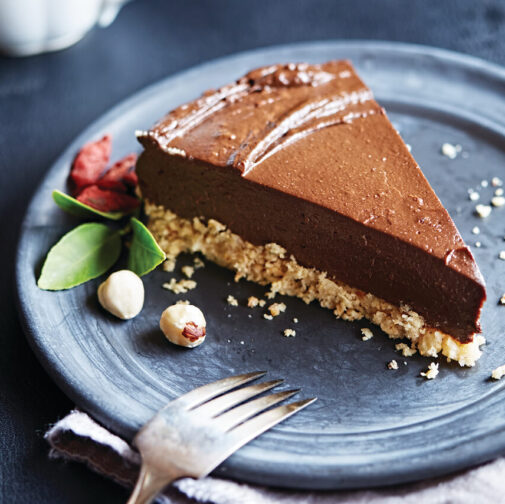
Now everyone can enjoy all the chocolate-y goodness of this classic favourite!
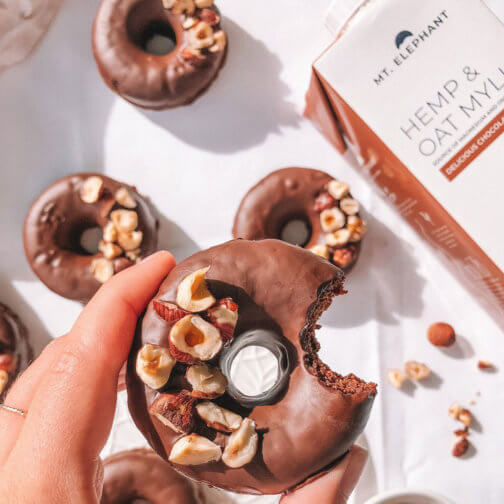
These decadent doughnuts are gluten-free, refined sugar free, and easy to make. What's not to like!
This fruity cocktail is a sweet summer drink that’s super easy to make. The combination of strawberry ice cream and coconut milk makes for a...
Quinoa is gluten free, high in protein and fibre, and is low GI, meaning it is slowly digested for longer-lasting energy.
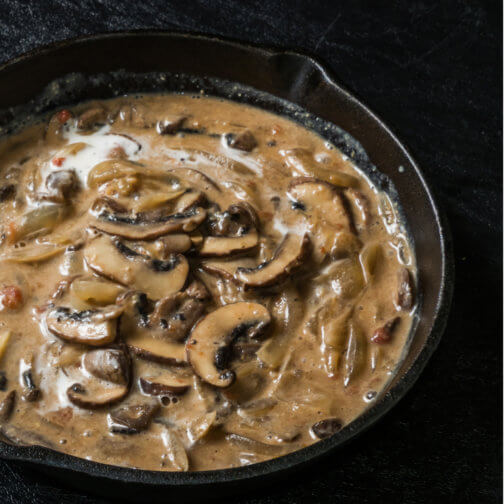
This rich vegan gravy recipe by chef Adam Guthrie ticks all the boxes: it’s thick, flavoursome, and packed with plant-based goodness.
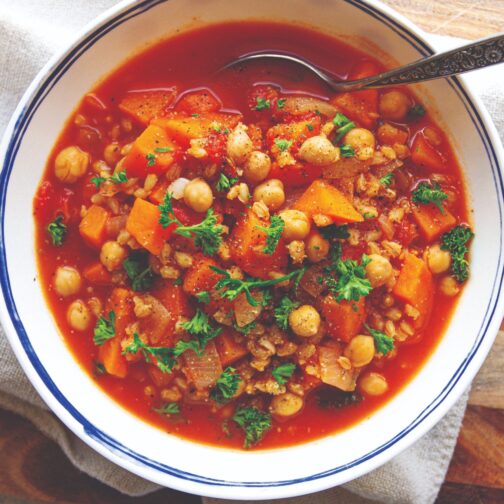
This wholesome stew combines succulent barley, tender chickpeas, and cubed sweet potato in a fragrant cumin-spiced tomato broth. This is...
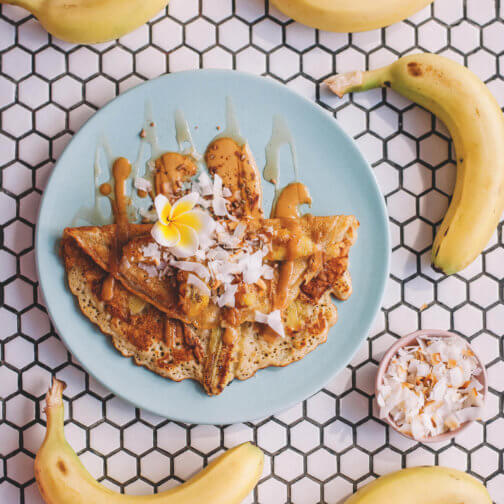
We have such fond memories of sitting at a warung (local cafe) in Bali, eating sweet banana pancakes. These are so damn easy to make and we hope...
If you want to get your gut in order, Dr Will Bulsiewicz is the expert to help you sort out fact from fiction. This is the gut-health cheat sheet...
In the fast-paced and demanding world we live in, finding moments of stillness and calm can be challenging. In an attempt to find a little peace...
Does life feel like an uphill battle? Maybe it’s time for change
Spraying sheets and pillows with calming scents can be a wonderful aid to slumber
The next time you go for a walk, discover the wonder of the everyday world around you
A skincare routine can be a way to nourish yourself inside and out
When the clouds converge, practise gratitude for the smallest of glimmers, and learn to dance in the rain.
Dainty sandwich fingers with the satisfying umami of vegan bacon and lashings of cream cheese make the perfect savoury inclusion in a classic tea-time spread.
If you want to get your gut in order, Dr Will Bulsiewicz is the expert to help you sort out fact from fiction. This is the gut-health cheat sheet...
In the fast-paced and demanding world we live in, finding moments of stillness and calm can be challenging. In an attempt to find a little peace...
Does life feel like an uphill battle? Maybe it’s time for change
Spraying sheets and pillows with calming scents can be a wonderful aid to slumber
The next time you go for a walk, discover the wonder of the everyday world around you
A skincare routine can be a way to nourish yourself inside and out
When the clouds converge, practise gratitude for the smallest of glimmers, and learn to dance in the rain.
Rich and sophisticated, these espresso-enhanced chocolate sponges with delectable chocolate cream topping are guaranteed to dazzle your guests, whether served for dessert or as part of a five-star hotel style afternoon tea.
TIP: Perfect baking is all about precision. For the best results, use a digital kitchen scale set to grams and weigh the ingredients where these weights are given.
If you want to get your gut in order, Dr Will Bulsiewicz is the expert to help you sort out fact from fiction. This is the gut-health cheat sheet...
In the fast-paced and demanding world we live in, finding moments of stillness and calm can be challenging. In an attempt to find a little peace...
Does life feel like an uphill battle? Maybe it’s time for change
Spraying sheets and pillows with calming scents can be a wonderful aid to slumber
The next time you go for a walk, discover the wonder of the everyday world around you
A skincare routine can be a way to nourish yourself inside and out
When the clouds converge, practise gratitude for the smallest of glimmers, and learn to dance in the rain.
Put a smile on your dial with these sweet indulgences!
If you want to get your gut in order, Dr Will Bulsiewicz is the expert to help you sort out fact from fiction. This is the gut-health cheat sheet...
In the fast-paced and demanding world we live in, finding moments of stillness and calm can be challenging. In an attempt to find a little peace...
Does life feel like an uphill battle? Maybe it’s time for change
Spraying sheets and pillows with calming scents can be a wonderful aid to slumber
The next time you go for a walk, discover the wonder of the everyday world around you
A skincare routine can be a way to nourish yourself inside and out
When the clouds converge, practise gratitude for the smallest of glimmers, and learn to dance in the rain.
Now everyone can enjoy all the chocolate-y goodness of this classic favourite!
TIP: I used Bob’s Red Mill 1 to 1 Gluten-Free Flour, which you can used as a direct replacement for general purpose baking flour in recipes.
SPECIAL NOTES FOR A NO-FAIL CAKE
• If the batter is too runny, the cake will sink. It needs to pour out of your bowl slowly without being too sticky. It should have some thickness to it – like a runny store-bought custard.
• Don’t make this cake any bigger than a 15cm tin. Make sure to split the batter between two tins.
• Under-bake your cake slightly. You want to retain extra moisture in the cake, as gluten-free cakes can be a little dry.
If you want to get your gut in order, Dr Will Bulsiewicz is the expert to help you sort out fact from fiction. This is the gut-health cheat sheet...
In the fast-paced and demanding world we live in, finding moments of stillness and calm can be challenging. In an attempt to find a little peace...
Does life feel like an uphill battle? Maybe it’s time for change
Spraying sheets and pillows with calming scents can be a wonderful aid to slumber
The next time you go for a walk, discover the wonder of the everyday world around you
A skincare routine can be a way to nourish yourself inside and out
When the clouds converge, practise gratitude for the smallest of glimmers, and learn to dance in the rain.
Subscription Options
to receive regular Nourish updates and offers directly in your inbox.
Interested in partnerships, submissions or providing more detailed feedback? Please visit our contact us page.
